I haven’t really used Windows since 2012 when I switched from Windows 7 to Mac OS. In recent years, I occasionally found myself in a situation where I had to use Windows for certain admin-related stuff. On top of that, I recently came across GOG that prompted me to play some classic PC games from the old days. Therefore, I built a PC and installed Windows 11. The user experience of Windows 11 so far was not really great for me. I’m okay with this, because I’m still mainly using my Mac computers. Currently, I have an iMac at work, a MacBookPro laptop and a Windows PC at home.
While working, it happens all the time that you need to leave your workplace and continue at home or the other way around. In this post, I’m briefly documenting how I organise different work-related routines across different computers with different operating systems, which I call work syncing.
File syncing is probably the easiest to solve. There are many cloud storage providers that works for both Windows and Mac. I’m using iCloud and it is also available on Windows. For the record, I only use iCloud Drive to sync files, and I’m not syncing other stuff like photos, calendar etc.
Then I have three major daily routines: reference management and manuscript writing, other writing activities and general data analysis. I need all of them to work in both Mac and Windows.
Reference management and manuscript writing
For this part, I’m mainly using Zotero and Word from MS Office. Previously, I have figured out how to get Zotero working with third-party cloud storage across Mac computers. You can check this post for more details. Here, to get your data synced in Windows, the idea is exactly the same. I still use iCloud as an example. Once you get iCloud from Windows Store on your Windows computer, it is probably located at C:\Users\<username>\iCloudDrive. Your Zotero folder is probably at C:\Users\<username>\Zotero. As you can tell, I don’t really bother to partition the C:\ drive and put everything there.
Just like the method described from the previous post, we need to create a symbolic link under C:\Users\<username>\Zotero called storage that points to the zotero_storage folder in the iCloud drive. Initially, I thought I could simply create a Shortcut points to the zotero_storage folder in the iCloud drive, but it did not work. Apparently, the concepts of Shortcut in Windows and symlink in *-nix are different. After a simple search, it turned out that mklink that comes with Windows 11 gets the job done. To this end, I used mklink from Command Prompt to create a symlink called storage in C:\Users\<username>\Zotero, and it actually points to zotero_storage in iCloud:
> cd C:\Users\xichen\Zotero
> mklink /D storage C:\Users\xichen\iCloudDrive\zotero_storage
After doing that, your Zotero folder should look like this:
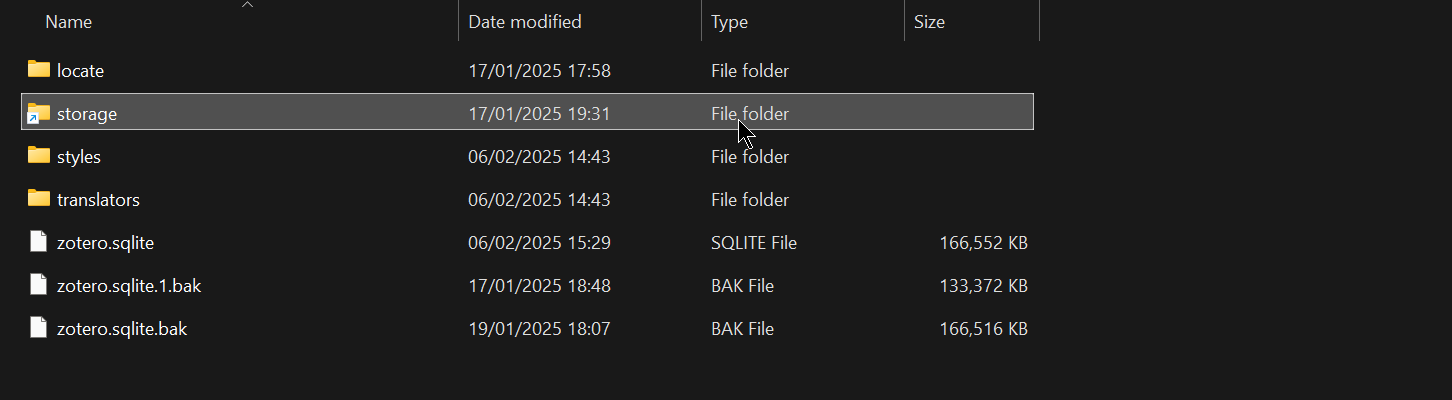
Note that the small arrow at the bottom left corner of the storage folder, which looks like a Shortcut in Windows. Actually, it is a symbolic link.
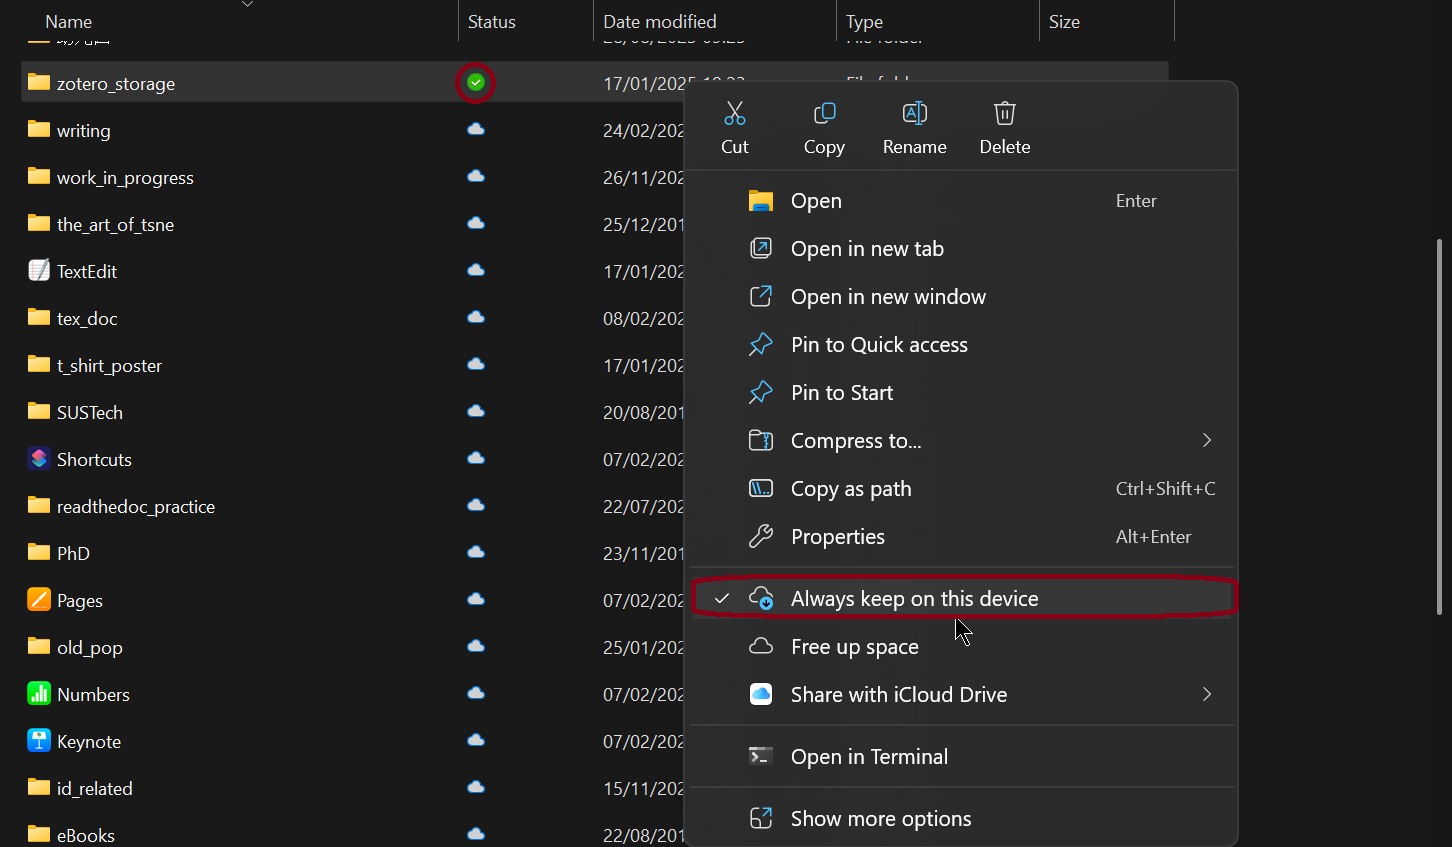
The other set up are exactly the same as the previous post. It works quite nicely. Again, make sure you keep the zotero_storage always available on your PC by right clicking the folder and choose Always keep on this device, like shown below. This option is called Keep Downloaded on a Mac computer.
For the manuscript writing, I have to use Word, because that’s most of my collaborators and students use. Luckily, both Zotero and MS Office have Windows and Mac versions. Inserting citations into the same document using the Zotero word plugin is seamless between Windows and Mac due to the previous Zotero setup.
Other writing activities
Apart from manuscript writing, I also spend a significant amount of my time writing in $\LaTeX{}$ and Markdown for teaching and other stuff like this personal website. For writing in $\LaTeX{}$, I’m mainly using Texifier (previously known as TexPad). Its live preview ability is just unbeatable. It hasn’t got a Windows version yet, but there will be in the future. For the time being, I’m using VS Code with the LaTeX Workshop extension. This setting is not as smooth as Texifier, but they do get things done.
For writing in Markdown, I think VS Code + the Markdown Preview Enhanced extension renders all other standalone markdown editor obsolete. The real-time preview, the themes and many other functionalities make your writing experience very pleasant.
Data analysis
Since I’m mainly doing NGS data analysis, I often connect to the workstation and computer cluster in my university via SSH. Windows 11 comes with a built-in SSH client, so you don’t really need to install things like PuTTY or MobaXterm. I use the SSH client in Windows Terminal, which I quite like … surprisingly.
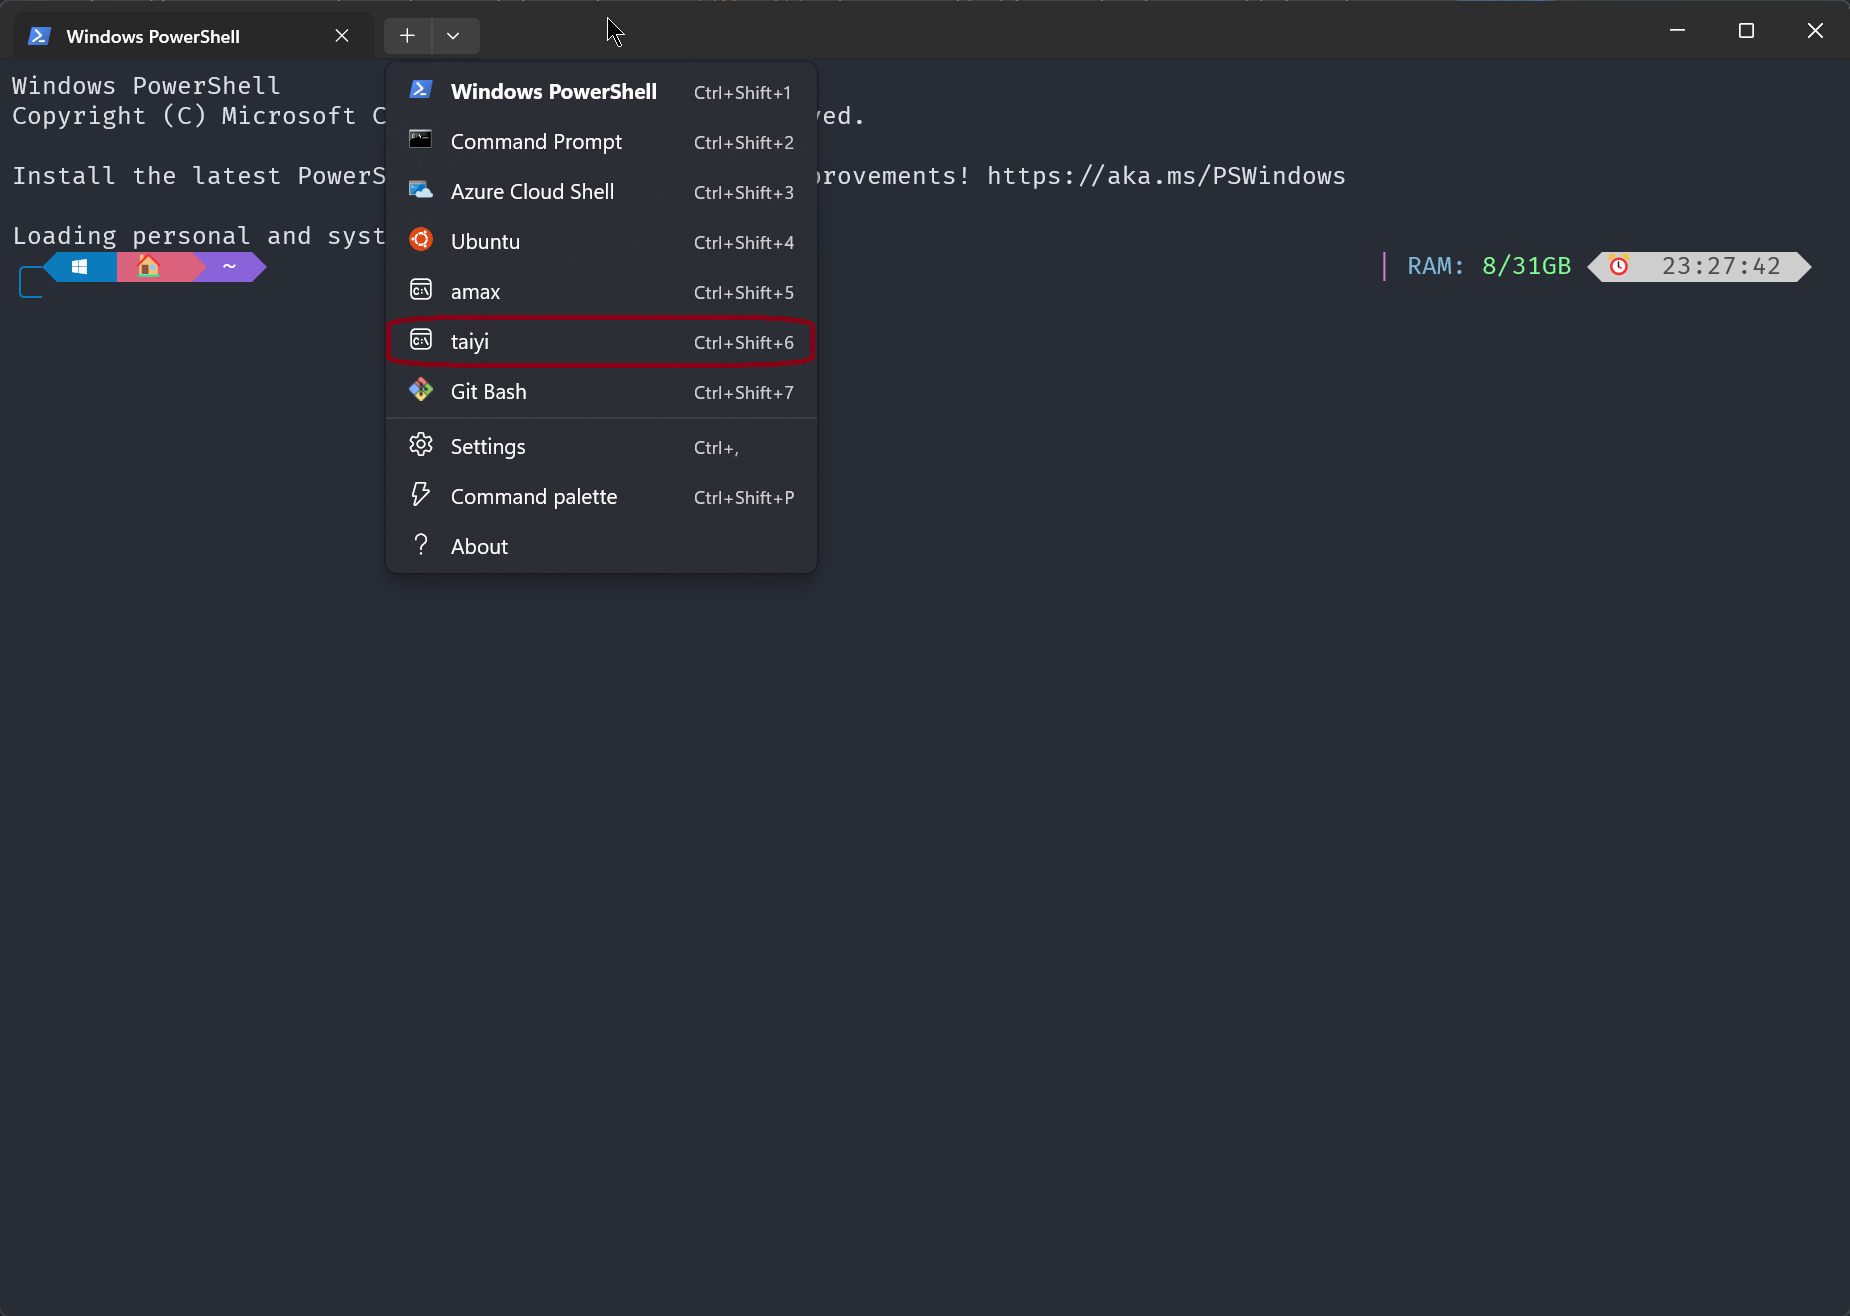
To save some typing, I created a profile in Windows Terminal. This can be done by pressing Ctrl + , to open the Settings window, and click Open JSON file at the bottom left corner. Then you will see the settings.json opened by your default text editor. In the "actions" entry, you will see multiple entries enclosed by {} and separated by ,. Add the following entry inside "actions":
{
  "name": "taiyi",
  "commandline": "ssh -i C:\\Users\\xichen\\.ssh\\homeWin11 bio-chenx@<ip_address>"
}
Note that taiyi is basically the name of our computer cluster, and homeWin11 is my RSA private key for my PC. I found the double back slashes (\\) were needed for the command to work.
Once that is done, you should be able to see the profile you just created in your Windows Terminal. When you click it, you will automatically ssh to the remote machine, like this: